


Material settings
Laser material test grid academy
Material confidence should come before paid work. This lesson connects starter settings with real product tests so buyers can move from a table to a usable sample without guessing.
Course focus
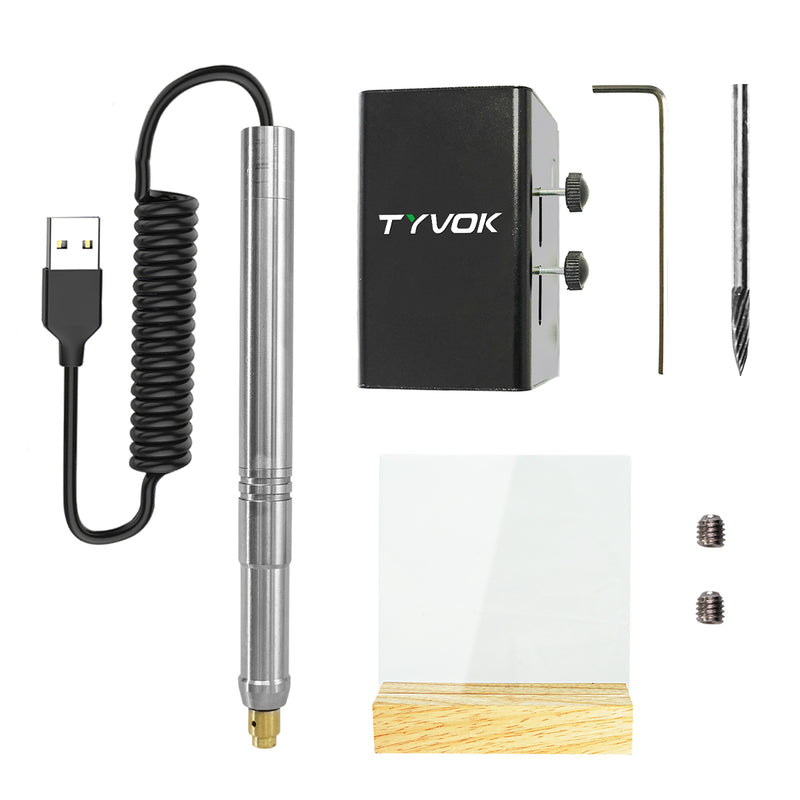
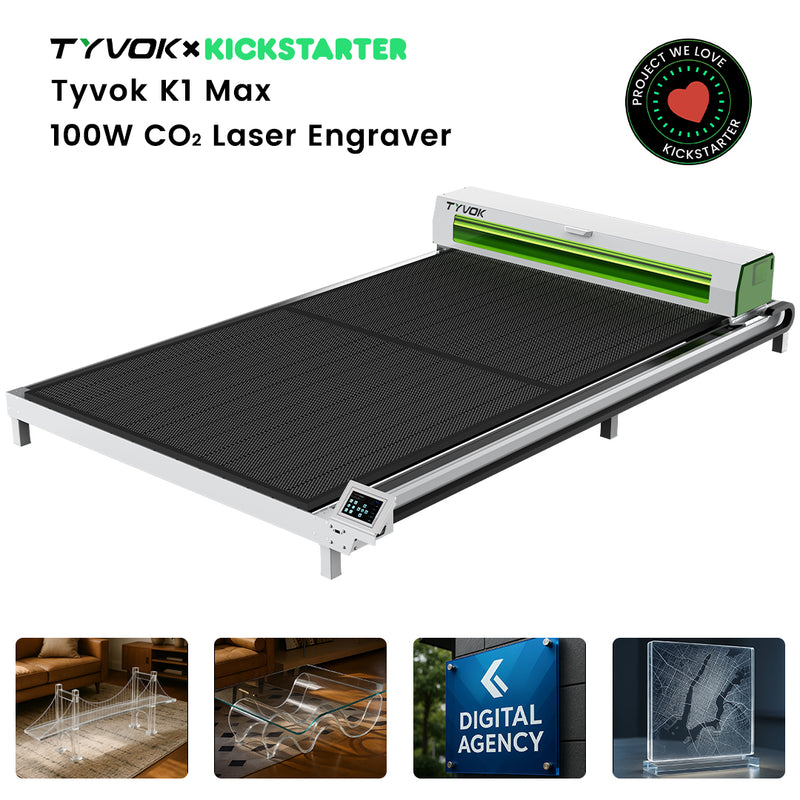
TYVOK material workflow
For buyers comparing materials before committing to a machine

Practical path
- Start with one material family instead of testing everything at once.
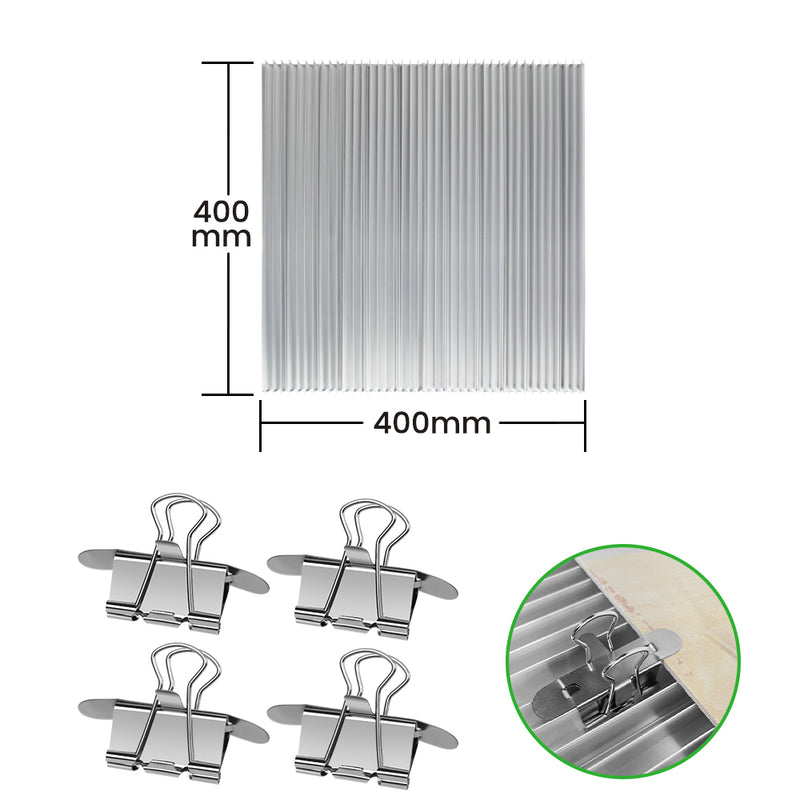
- Create a small grid that changes only one variable per row or column.
- Record the machine, head, material supplier, color, thickness, speed, power, and passes.
- Check the result under normal customer-viewing light, not only under the machine.
- Turn the best result into a project page, product photo, or sample card.
Why this matters
Education should remove buying friction
Users do not only need a lower price or a bigger watt number. They need to understand what they can make first, how to test it, what machine path fits, and how to turn one sample into a repeatable project.
FAQ
Common questions
Who is this academy lesson for?
For buyers comparing materials before committing to a machine
Which TYVOK page should I open next?
Start with Open material settings if this is your main use case, then use TYVOK Project Ideas and material settings to confirm the first sample.
Why is this structured like a course?
The lesson follows a buyer-friendly path: learn the workflow, do one proof, then choose the matching TYVOK machine or guide.
Free test files
Run a proof before the real job
Download TYVOK starter SVG and CSV files for material grids, P2 small-product alignment, X1S board checks, and settings documentation.


