


How to Laser Engrave Leather: A Complete Guide for Beginners
So, you’ve got a laser engraver and a beautiful piece of leather, and you’re ready to create something stunning. But your first few attempts left you with a charred, smelly mess rather than a crisp, professional engraving. Sound familiar? You’re not alone. Laser engraving leather is an incredible way to add personalized, high-value details to wallets, journals, bags, and more, but it requires a specific approach to get it right. This guide will walk you through everything you need to know—from choosing the right leather to dialing in the perfect settings—so you can move from frustrating burns to flawless finishes.
Understanding Leather for Laser Engraving
Not all leather is created equal, especially when it comes to laser engraving. Using the wrong type is the most common beginner mistake and a fast track to disappointing results.
What Type of Leather is Best for Laser Engraving?
For laser engraving, you want vegetable-tanned leather. This is the gold standard, and here’s why: * Clean Reaction: It’s tanned using natural tannins found in plants and trees. When lasered, it produces a clean, high-contrast engraving, typically a pleasing dark brown or black mark. * Consistent Results: It lacks the metallic salts and synthetic top-coats found in chrome-tanned leather, which can produce toxic fumes, inconsistent burns, and even damage your laser’s optics. * Workability: It’s a firm, unfinished leather that beautifully showcases engraved details.
Avoid Chrome-Tanned Leather. This leather is tanned with chromium salts. Lasering it can release harmful chlorine gas, create a greenish, ashy engraving, and often melts or burns uncontrollably.
Leather Finishes and Dyes
Even within vegetable-tanned leather, surface treatments matter: * Natural/Unfinished: Ideal for engraving. It gives the classic, contrasted look. * Dyed Leather: You can engrave dyed leather (e.g., black), but the result will be a subtractive process. You’re burning away the top dye layer to reveal the natural leather underneath, creating a two-tone effect. Test first! * Avoid: Heavily painted, embossed, or plastic-coated (“bonded”) leathers. The laser will struggle with the synthetic layers.
Essential Gear and Software Setup
Before you fire the laser, let’s get your toolkit and digital workspace in order.
Necessary Equipment
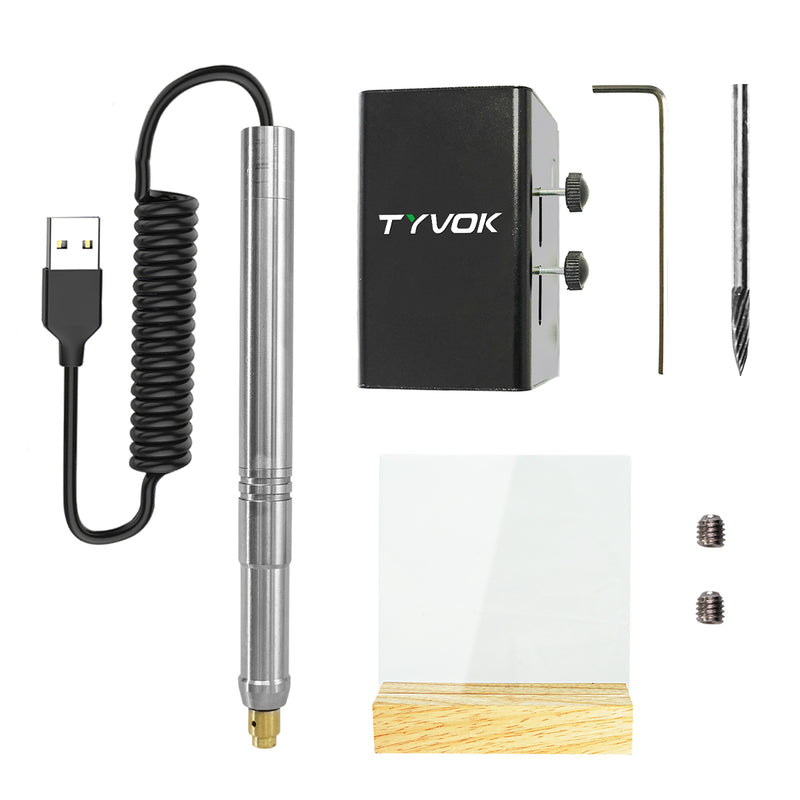
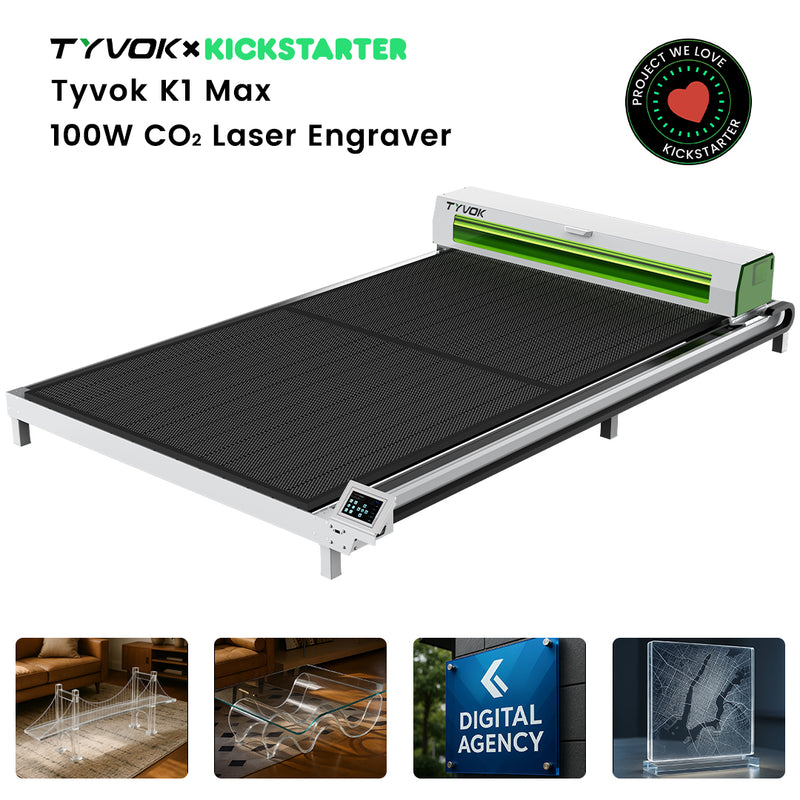
- Your Laser Engraver: A diode, CO2, or galvo laser will work. For example, the Tyvok A1 Mini is a fantastic entry-level diode laser for small leather projects like keychains and cardholders. For larger items like bags or belts, a Tyvok K1 CO2 laser offers a bigger bed. For lightning-fast, ultra-detailed work on items like wallets, the Tyvok P2 10W Galvo Laser is a game-changer.
- Extraction & Ventilation: Non-negotiable. Engraving leather produces smoke and particulates. Use a dedicated fume extractor or vent the exhaust outside to protect your health and ensure a clean engrave.
- Air Assist: A gentle stream of compressed air pointed at the engraving point blows away smoke and debris during the process. This is the #1 tool for engraving leather without burning, as it prevents heat buildup and keeps the edges crisp.
- Masking Tape: Applying low-tack painter’s tape over the leather surface before engraving can significantly reduce surface scorching and cleanup.
Software and Design Preparation
- Design Software: Use vector-based programs like LightBurn (highly recommended for lasers), CorelDRAW, or Adobe Illustrator. You can also use Inkscape (free).
-
File Type: Save your design as an
.svgor.dxffor clean vectors, or use a high-contrast bitmap (.png) for photo engraving. -
Key Settings in Your Laser Software:
- Speed: How fast the laser head moves.
- Power: The intensity of the laser beam.
- DPI/PPI: For raster engraving (shading), 300-500 DPI is a good range for fine detail on leather.
The Best Laser Settings for Leather (And How to Find Yours)
There is no single "perfect" setting. It depends on your specific laser, its wattage, the leather's thickness, and the desired effect. The following are starting points. You must run a material test grid.
General Starting Point Settings
| Laser Type | Power | Speed | Passes | Notes |
|---|---|---|---|---|
| 5.5W-10W Diode (e.g., Tyvok A1) | 80-100% | 100-200 mm/min | 1-2 | Go slower for deeper marks. Use air assist! |
| 40W-100W CO2 (e.g., Tyvok K1) | 8-12% | 300-500 mm/s | 1 | Very low power is key. High speed prevents burning. |
| Galvo Fiber/Diode (e.g., Tyvok P2) | 30-50% | 2000-4000 mm/s | 1 | Galvo speed prevents heat spread. Ideal for fine detail. |
How to Run a Test Grid: 1. Take a scrap piece of your exact project leather. 2. In your software, create a grid of small squares (e.g., 1cm x 1cm). 3. Assign each square a different combination of speed and power. 4. Run the job. Examine the results. Look for the square with a crisp, dark brown/black engraving without deep charring or excessive smoke halo.
Pro-Tip for How to Laser Engrave a Leather Wallet: Wallets often have multiple layers. Always disassemble them before engraving. Engrave the individual piece (the front panel), then reassemble. Engraving through multiple layers can cause fires, toxic fumes from adhesives, and ruined pieces.
Step-by-Step Leather Laser Engraving Tutorial
Follow this process for consistent, professional results every time.
- Prepare the Leather: Wipe it clean with a slightly damp cloth and let it dry completely. If desired, apply a layer of masking tape to the engraving area.
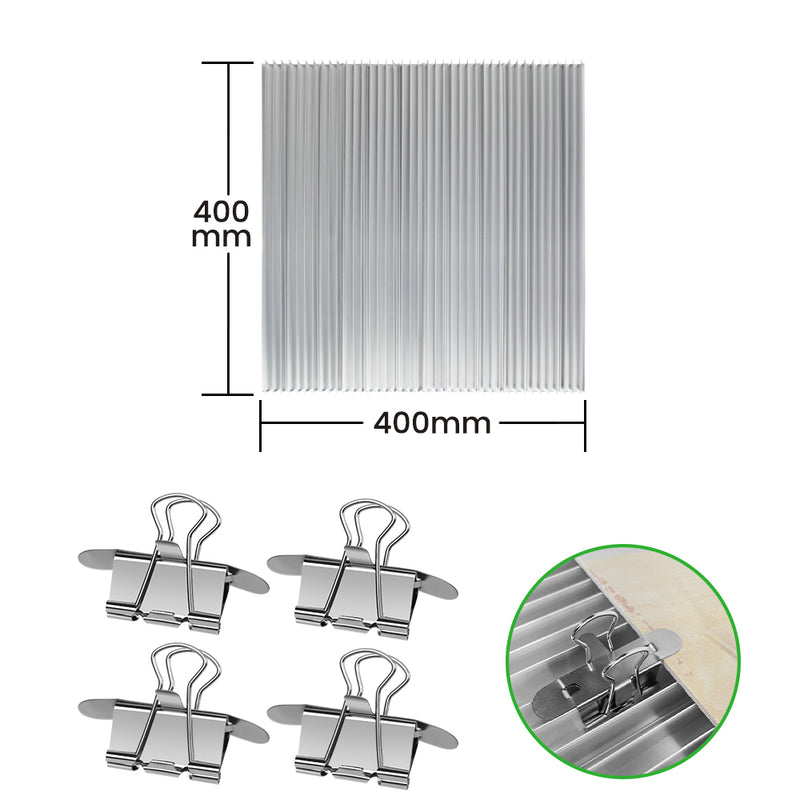
- Secure the Material: Use magnets, weights, or a honeycomb bed to ensure the leather lies perfectly flat. Any curl or bubble will distort the focus.
- Focus the Laser: This is critical. Use your laser’s focus tool (like a manual gauge or auto-focus probe) to set the correct distance. The focal point should be on the leather's surface.
- Run Your Test Grid: On a scrap piece from the same batch, find your ideal speed/power setting.
- Set Up Your Job: Import your final design. Apply the winning settings from your test. Enable air assist.
- Engrave: Start the job. Keep an eye on the first 30 seconds to ensure it’s engraving correctly and not flaming.
- Post-Process: Once complete, carefully remove the leather. Peel off the masking tape if used. Use a soft brush or damp cloth to gently remove any loose soot or residue. Condition the leather with a natural oil (like neatsfoot or mink oil) to restore suppleness and darken the engraved area for enhanced contrast.
Frequently Asked Questions
Can you laser engrave any type of leather?
No. You should only laser engrave vegetable-tanned leather. Chrome-tanned and other chemically treated leathers can release toxic fumes, produce poor engraving results, and potentially damage your laser machine. Always check with the supplier.
How do you prevent leather from burning during engraving?
Three key steps prevent burning: 1) Use Air Assist to cool the material and blow away combustibles. 2) Optimize Your Settings—use higher speed and lower power. 3) Apply Masking Tape to the surface to act as a sacrificial layer, absorbing excess heat and preventing surface scorching.
What’s the difference between engraving and cutting leather with a laser?
Engraving uses lower power and multiple passes to vaporize the surface layer, creating a mark. Cutting uses high power and slow speed (or multiple passes) to burn completely through the material. Cutting thick leather can produce very flamey edges and requires extensive testing and ventilation.
How deep should a laser engraving be on leather?
For most decorative and functional purposes (like text on a wallet), you want a shallow surface engraving. Aim to just remove the top grain layer for contrast. Deep engraving weakens the leather and increases the risk of burning through. Your test grid will show you the setting for a clean, shallow mark.
Conclusion
Laser engraving leather opens up a world of creative and professional possibilities. The journey from a smoky, burnt piece to a beautifully personalized creation hinges on three pillars: using the right vegetable-tanned leather, dialing in your machine’s settings through rigorous testing, and employing key techniques like air assist. Whether you’re personalizing a wallet on a desktop diode like the Tyvok A1 or producing batches of belts with a large-format K1, the principles remain the same. Start with scraps, be patient with your tests, and always prioritize safety with ventilation. Now, grab some leather, fire up your laser, and start creating heirloom-quality pieces that are uniquely yours.


