Author: Tyvok Creative Lab / Prof. Yvon
Difficulty: ★☆☆☆☆(Beginner)
Applies to: All versions of TyvokStudio

Summary
Many new users encounter the same issue: after importing an SVG or DXF file into TyvokStudio, the design doesn’t appear on the workspace. This tutorial explains exactly why this happens, how different coordinate systems cause this behavior, and how to correctly position, locate, and prepare your design before cutting.
By the end of this guide, you’ll know everything needed to confidently import and prepare vector files for laser cutting.
1. What Are Vector Cutting Files—and Why Do They Matter?
Laser cutting machines follow paths, not pixels.
These paths are formed by:
-
Straight lines
-
Arcs
-
Bezier curves
This means only vector files can accurately tell the laser where to move.
Common vector formats include:
| Format | Description |
|---|---|
| SVG | Most universal & recommended format |
| DXF | Ideal for CAD / engineering drawings |
| AI | Adobe Illustrator native format |
| PLT | Plotter format for industrial use |
| PDF (vector) | Only if the PDF contains actual vector paths |
No matter if you design in Inkscape, CorelDraw, or Illustrator, you’ll end up exporting one of these vector formats before bringing your work into TyvokStudio.
2. Why Does My SVG “Disappear” After Import?
This is one of the most common questions from new users:
“I imported my SVG file, but the workspace is empty. Where did my design go?”
Don’t worry—your file is imported.
It’s simply not visible in the current view.
The reason is very simple:
different coordinate systems.
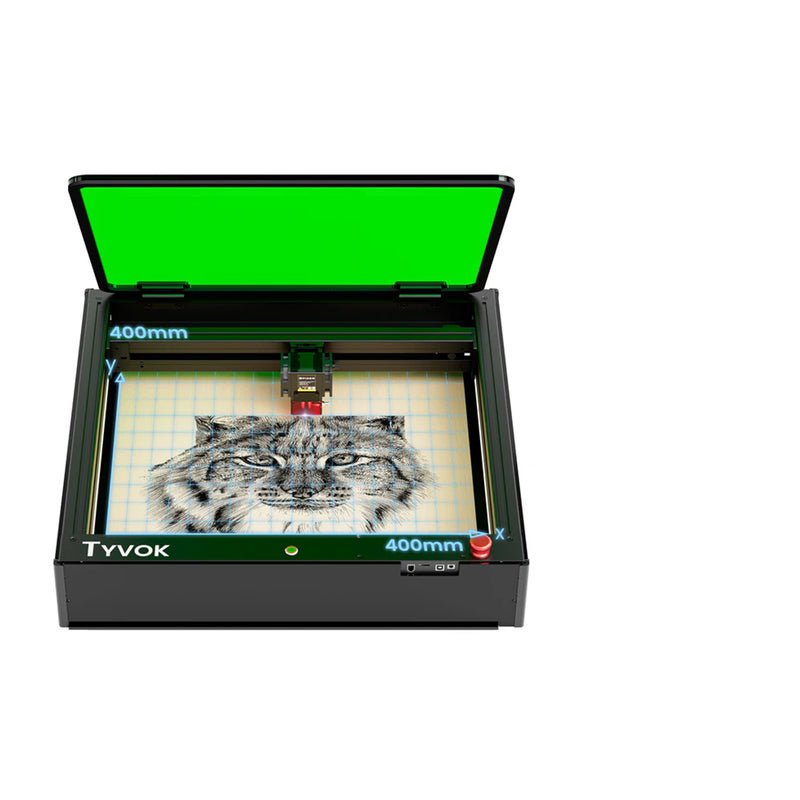
Laser Cutter Coordinate System: (0,0) at the Bottom-Left
Most laser machines—including Tyvok devices—use:
➡ Bottom-left corner of the workspace as the origin (0,0)
This ensures consistent positioning and predictable machine behavior.
Vector Design Software Origin: Usually the Center
Design software such as:
-
Inkscape
-
Adobe Illustrator
-
CorelDraw
often use the center of the design or center of the page as the reference point.
Two different origins = The design appears “off screen”
This mismatch causes the imported file to:
-
Appear outside the visible area
-
Be placed in negative coordinates
-
Sit far away from the machine’s workspace boundaries
So visually, it looks like nothing was imported at all.
In reality:
✔ The file is there
✘ It’s just not in view
3. How to Make Your Design Visible (The Simple Fix)
Here are two effective methods used by professionals.
Method 1 — Manually reposition the design (Recommended)
Set your imported design to a safe offset:
-
X = 5 mm
-
Y = 5 mm
This places your design neatly in the bottom-left corner of the workspace—safe, predictable, and ready for cutting.
Method 2 — Use TyvokStudio’s zoom tools to locate the design
① Zoom to Page
Go to:
Edit → Zoom → Zoom to Page
Your design will appear somewhere within the page boundary.
② Zoom Selected
If you've selected the design but still can’t see it:
Edit → Zoom → Zoom Selected
This instantly brings the selected object into view.
These two tools are essential for quickly re-centering your workspace.
4. Three Things You Must Check Before Cutting (Highly Important!)
New users often skip this part—but it makes a huge difference in cut quality.
1. Verify the “Start Point” of Each Path
Every closed shape has a start point.
A poor start point may result in:
-
A visible notch at the seam
-
Slight misalignment
-
Unclean edges
For example, if the laser starts cutting from a corner and returns to the exact same spot, a “burn mark” or “step” may appear.
✔ Good news: TyvokStudio allows you to change the start point for each object.
This is a professional technique that dramatically improves cut quality.
2. Check Path Direction (Path Options)
Path direction affects:
-
Cutting order
-
Movement efficiency
-
Heat distribution
-
Edge quality
This topic is deeper, so we will cover it in Part 2 of this guide.
3. Check Layers & Parameters
Before cutting, always double-check:
-
Cutting vs. engraving layers
-
Power and speed settings
-
Whether CO₂ or diode parameters are applied correctly
-
The correct color/layer strategy
We will explain layers fully in Part 3 of the TyvokStudio Guide.
5. Final Thoughts — Importing Files Is Easy Once You Understand It
After this guide, you now understand:
✔ Why imported vector files sometimes don’t appear
✔ How to quickly locate and reposition your design
✔ How to use zoom tools effectively
✔ Why start points matter
✔ How to prepare for a clean, accurate cut
You now have the foundational skills used by 80% of experienced laser users.
6. Up Next: TyvokStudio Path Options Explained (Guide · Part 2)
In the next article, we’ll dive into:
-
How path direction affects cut quality
-
How to optimize order and reduce heat distortion
-
Why some cuts “jump around”
-
Tips to eliminate seam marks
-
The difference between open paths and closed paths
Stay tuned!

