


Education and shared workshop buying path
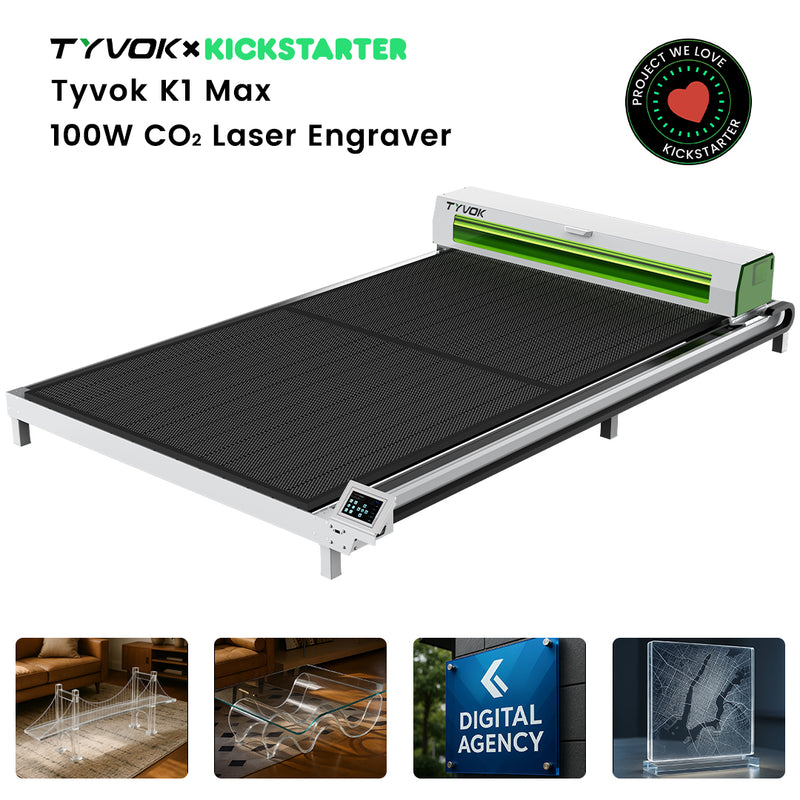
Laser engraver for schools and makerspaces
School and makerspace buyers need a laser path that is easy to explain, easy to supervise, and practical for repeat student projects. The better buying question is not only power. It is which machine fits the room, the project size, the material policy, and the training workflow.
Real buyer logic
Choose by the work, not only the spec sheet
This follows the stronger xTool and LaserPecker content pattern: start with the user situation, then compare material, area, setup, supervision, and upgrade path before sending buyers to a product.

Application cases
Finished products buyers can picture
Buying workflow
Proof before committing
- Decide whether the first projects are small items, signs, or mixed workshop demonstrations.
- Set a material policy before student use: approved blanks, ventilation rules, and supervision level.
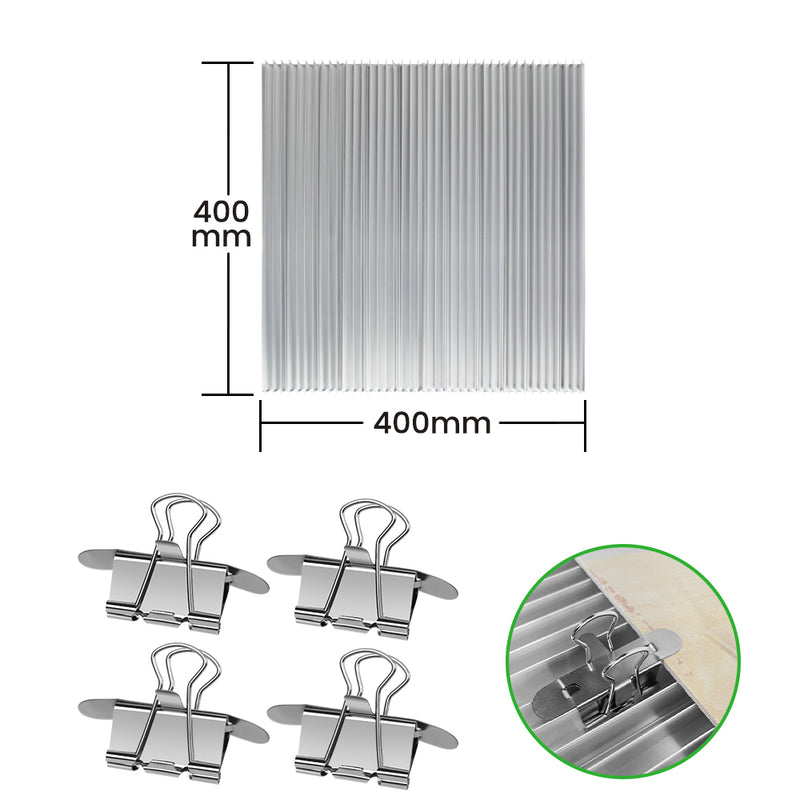
- Create one test board per material so settings are not guessed by every new user.
- Use P2 for compact repeatable demos and X1S when the program needs larger boards or signs.
- Link every class or lab workflow to Academy lessons and TYVOK material settings.
Next route
Move from scenario to product
FAQ
Buyer questions
Which TYVOK machine should this buyer start with?
Start with TYVOK P2 when the first jobs match the compact or primary workflow described here. Move to TYVOK X1S 2026 when the work area, repeat output, or project size becomes the bottleneck.
What did TYVOK learn from xTool and LaserPecker style buying guides?
Strong buying content should begin with the user job, then explain material fit, work area, software confidence, output volume, proofing, and upgrade route before linking to products.
How should a buyer avoid overbuying?
Choose the first repeatable product family, make proof samples, document settings, and upgrade only when a real workflow limit appears.


