


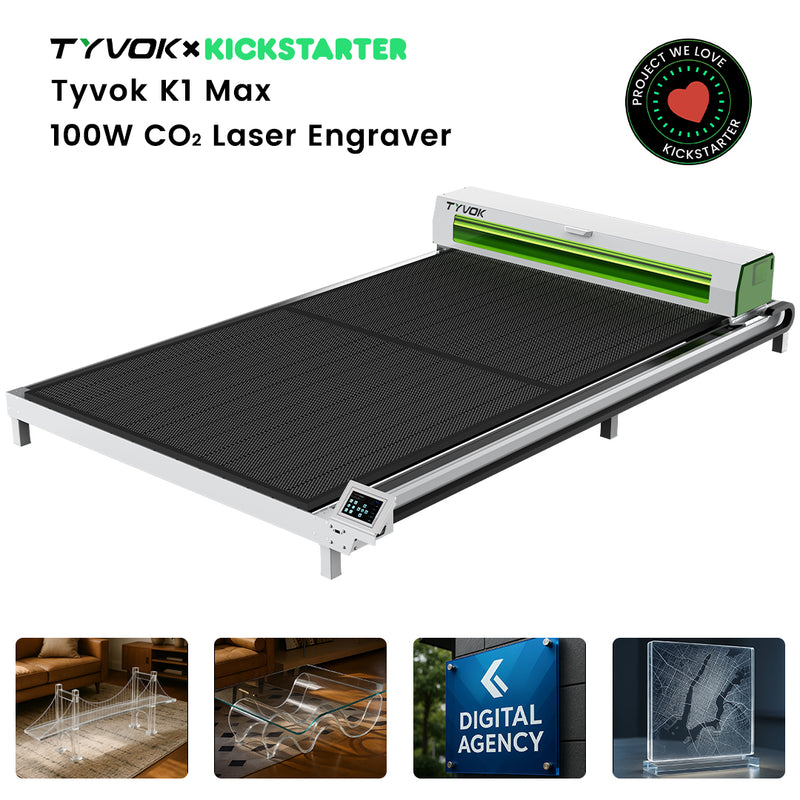


X1S Pro production settings
TYVOK X1S Pro production material settings for shop workflows
Use this page to move from one successful material test into repeatable shop production. The goal is not a single pretty sample; it is a repeatable layout.
Visual check
Match the material to the machine path
Industry-leading laser sites do not leave settings as isolated numbers. They connect the material, the test file, and the machine decision.

Starting points
Material paths to test first
Use these as structured first tests. Record the exact material, finish, and result before repeating a job.
| Material or job | Start here | Proof note |
|---|---|---|
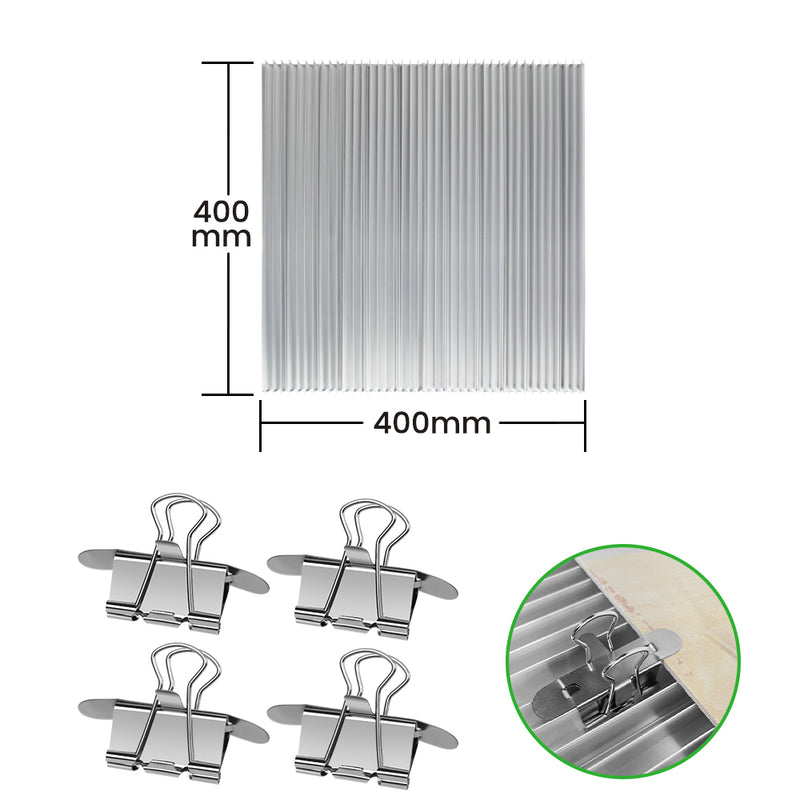
| Repeat wood layout | Run one full repeat layout before accepting a batch order. | Record material size, fixture position, and pass count. |
| Acrylic display | Test edge quality and visual clarity before final display work. | Use sample strips before large sheets. |
| Local signage | Pair layout proof with customer-ready product photos. | Quote from proven setup time, not guesswork. |
| Batch labels | Test spacing, alignment, and readability across the full batch area. | Do not scale from one item without a layout check. |
Next step
Move from settings to a buying decision
FAQ
Material setting questions
Are these exact TYVOK X1S Pro settings?
No. They are starting paths and test logic. Actual settings depend on material finish, focus, speed units, power, and desired result.
Why start with a test file?
A test file gives you repeatable proof before you engrave a paid product or buy a large batch of blanks.
Where should I go after this page?
Use the related lesson, the use-case buying path, and the TYVOK X1S Pro product page to connect material proof with the buying decision.
Browse the TYVOK material library
Choose the material first, then move into machine settings, test files, and product examples.


