So, you just unboxed your new laser engraver and want to start crafting—but the thought of setting up software feels overwhelming? You’re not alone! Many beginners stress over downloads, drivers, and device connections, but LightBurn makes it simple. This step-by-step guide breaks down everything you need to get LightBurn up and running today—no technical jargon, just clear, friendly instructions. By the end, you’ll be ready to turn your creative ideas into reality with a tool used by thousands of makers worldwide.
Before we dive in, let’s answer the big question: “Why choose LightBurn over the software that came with my machine?”
-
User-Friendly Design: Unlike basic, clunky built-in software, LightBurn’s intuitive interface lets you drag-and-drop designs, adjust settings with sliders, and preview your engraving in real time.
-
Powerful Features: Enjoy pro-level tools like AI image tracing (turn photos into engraving paths in seconds), automatic material nesting (save 30%+ on material waste), and vector editing (no need for separate design software like Inkscape).
-
Universal Compatibility: Works with 95% of entry-level lasers, including popular models like Ortur, Neje, Atomstack, and Tyvok S1—whether you have a diode laser (20W or less) or a CO₂ laser.
- Go to lightburnsoftware.com (always use the official site to avoid scams).
- Click “Download” at the top menu. You’ll see options for Windows, macOS, and Linux—choose your operating system.
-
Free Trial: Get 30 days of full access to test all features. Perfect for beginners!
-
Paid License: $60 one-time fee for permanent use (no subscriptions). Buy later if you love it.
If you’re on Windows, make sure your computer meets the basic requirements: Windows 7+ (64-bit), 4GB RAM, and a USB port for connecting your laser.
- Locate the downloaded file (usually in your “Downloads” folder) and double-click it.
- Follow the installer: Click “Next,” accept the license agreement, and choose your installation folder (the default is fine).
- When prompted, check “Run LightBurn” and click “Finish.”
-
Firewall Alert? Allow LightBurn access to your network—this ensures smooth communication with your laser.
- Open the downloaded DMG file and drag the LightBurn icon to your Applications folder.
- Double-click LightBurn to launch it. If you see a “Security Warning,” go to System Preferences > Security & Privacy and click “Open Anyway” (Apple’s safety feature, nothing to worry about!).
The software will ask you to activate your license or start the trial. Enter your email for the trial—no credit card needed!
Now for the moment of truth: linking your laser to LightBurn. We’ll cover the most common connection methods: USB (wired) and Wi-Fi (wireless).
- Turn on your engraver and make sure it’s in “Ready” mode (most display a blue light or “Online” status).
- Plug in the USB cable (for wired) or connect to your Wi-Fi network (for wireless models like Tyvok S1, which features a pre-installed control system for seamless setup ).
- In LightBurn, go to Device > Device Settings.
- Click “Add a Device” and search for your model (e.g., “Tyvok S1”). If you don’t see it, select “Grbl” (the most common controller type for entry-level lasers).
- On Windows: Open Device Manager (type “Device Manager” in the Start menu) and look under Ports (COM & LPT) for your laser (e.g., “USB Serial Port (COM3)”).
- On macOS: Go to About This Mac > System Report > USB and note the port name (e.g., “USB Serial Device”).
- In LightBurn, go to Device > Machine Settings and select the correct port from the dropdown menu.
- Click “Connect” in the top toolbar. If successful, your laser will move to the home position (usually the bottom-left corner).
-
Stuck? Try these fixes:
- Restart both your computer and laser.
- Update your laser’s firmware (check the manufacturer’s website for guides).
- Unplug and replug the USB cable (sometimes a loose connection is the culprit).
- First, confirm you selected the right controller (Grbl is standard for most entry-level lasers like Ortur and Neje).
- If using Wi-Fi, make sure your laser and computer are on the same network.
- Most modern lasers use plug-and-play USB, so drivers install automatically. If not, LightBurn’s support page has links to common drivers.
- Probably! LightBurn works with any laser that uses Grbl, Smoothieware, or similar controllers.
Congratulations—you’ve conquered LightBurn setup! Now it’s time to bring your ideas to life. Start with a simple project: engrave your name on a piece of wood or create a custom sticker. Remember, LightBurn’s real power lies in its flexibility—whether you’re a hobbyist making gifts or a small business owner scaling up, this software grows with you.
Don’t let tech stress hold you back. LightBurn is designed for beginners like you—now go make something amazing!
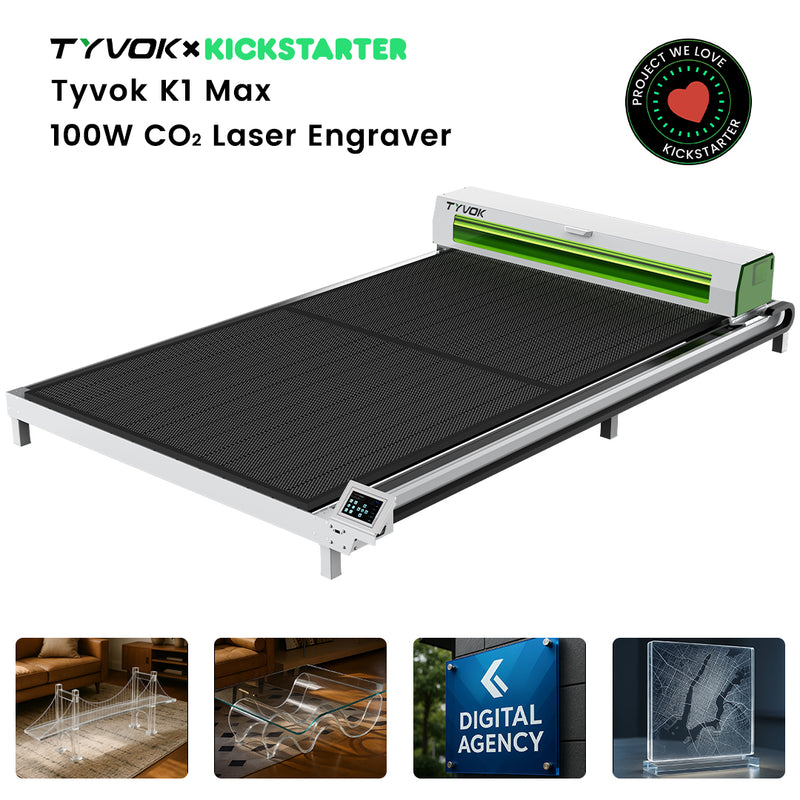
Tyvok S1 Highlight: For users seeking a high-powered, versatile laser engraver, the
Tyvok S1 (60W laser + CNC) pairs seamlessly with LightBurn for precision cutting and engraving. Its modular design simplifies setup, making it ideal for both hobbyists and small businesses.
💡 Tip: Looking for the best value galvo laser for metal marking? The
Tyvok P2 2W Galvo Laser
is our top pick for 2026 — currently 50% OFF at just $149!