


Metal marking path
Metal laser marking settings for cards, tags, labels, and tools
Metal pages should prove readability, finish, and repeatability. Start with sample boards before promising paid asset tags or premium cards.
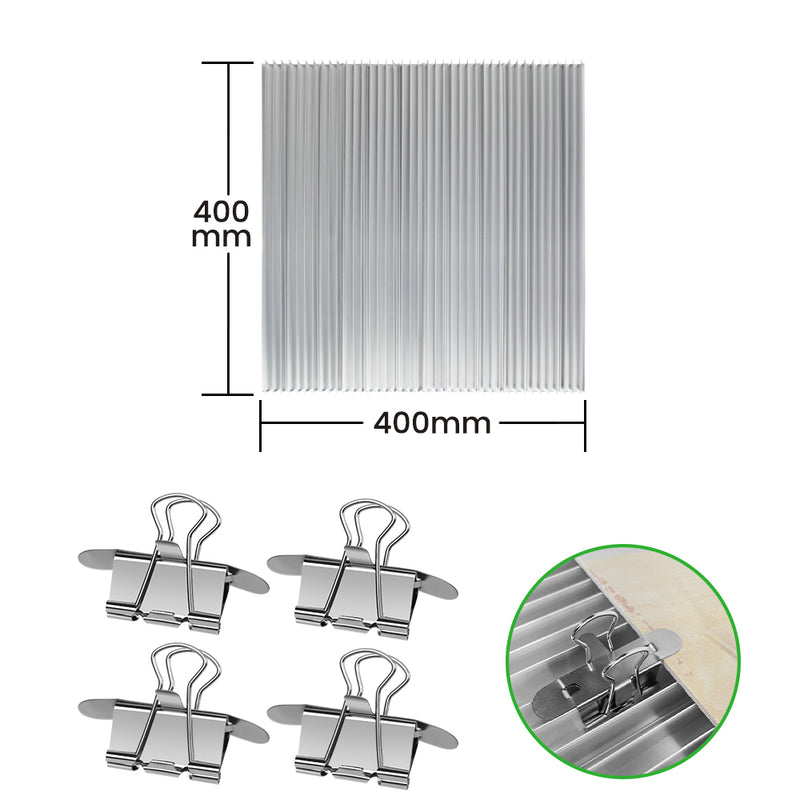
Visual proof
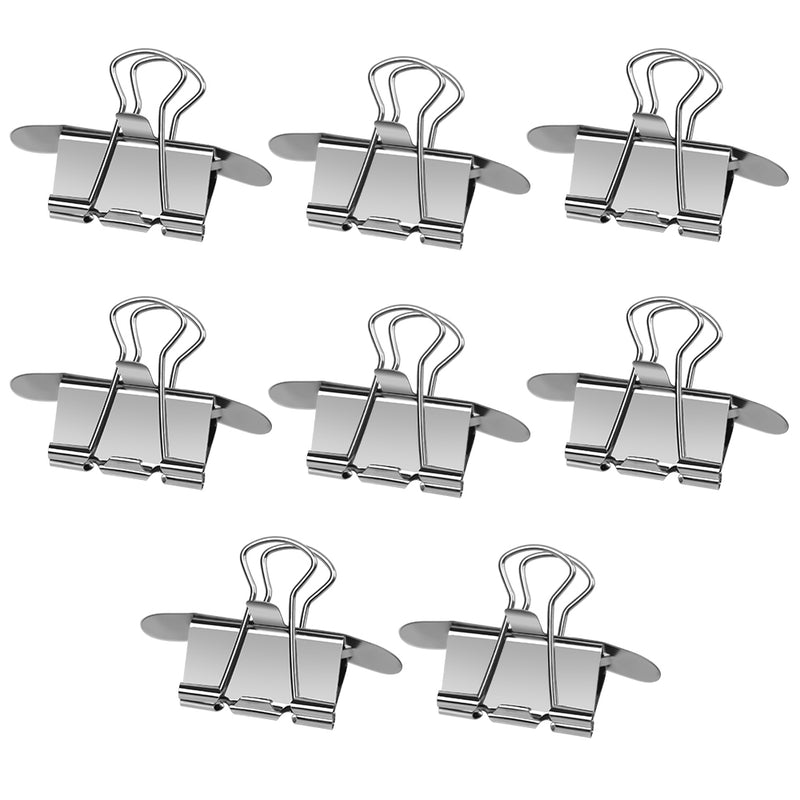
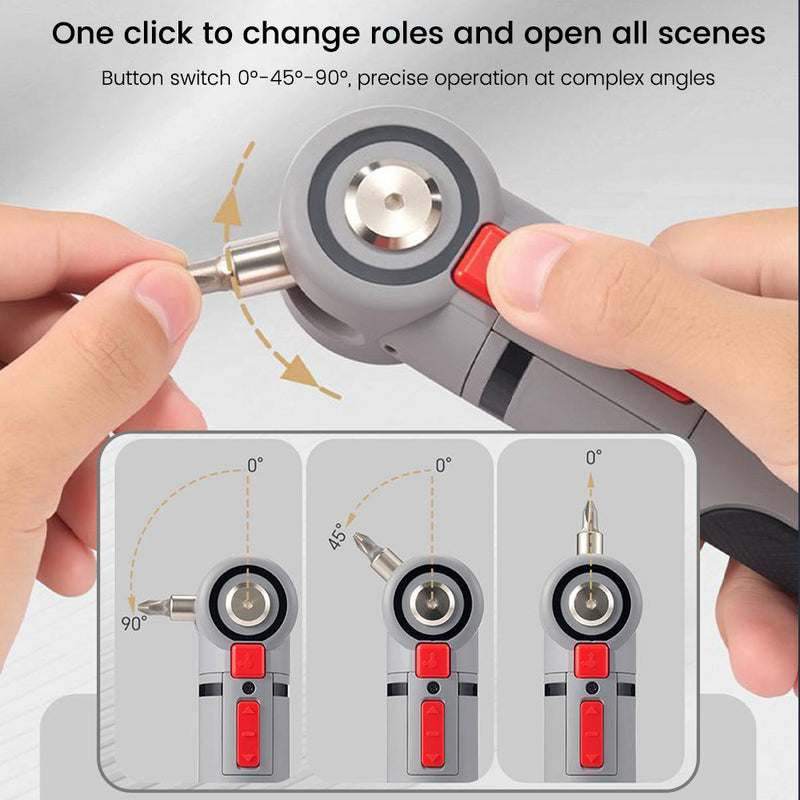
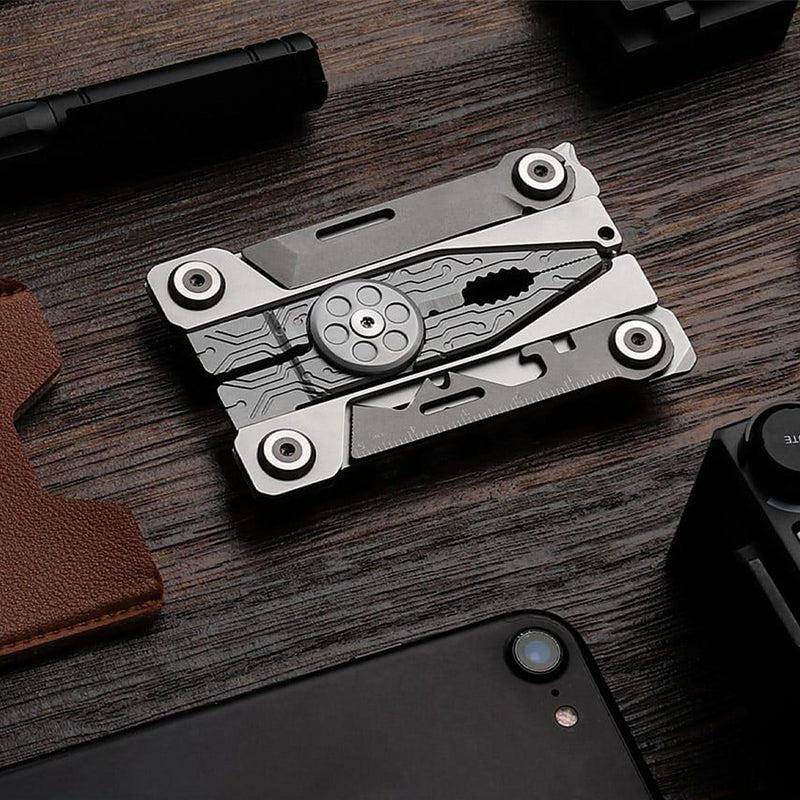
See the finished-product direction first
Use the image and cases below to keep the settings conversation tied to products buyers understand, not abstract numbers alone.

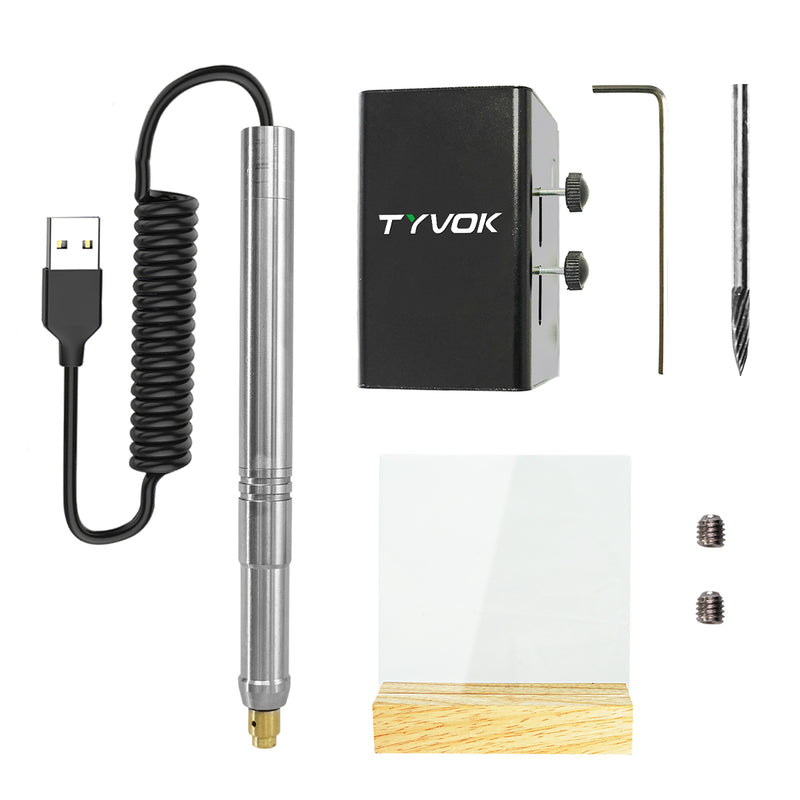
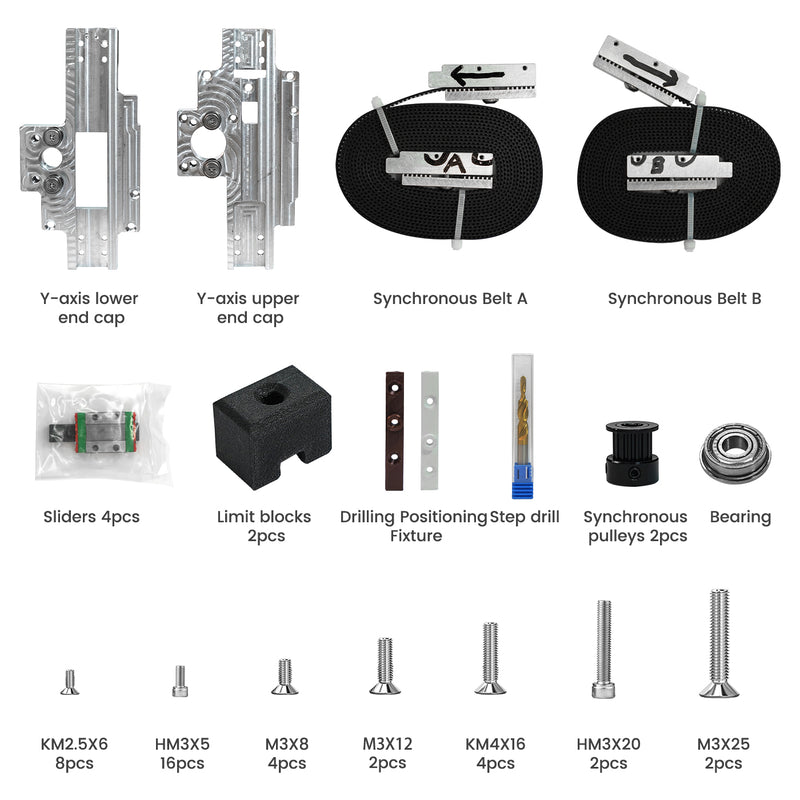
Application cases
Best TYVOK use cases for this material
Test logic
Settings path before paid work
These are starting decisions, not final universal numbers. Run proof files and document the material source before scaling.
| Decision | What to test |
|---|---|
| P2 Ultra sample board | Create text, QR, logo, and filled-area strips before a customer job. |
| Readability | Check marks under normal room light and angled light. |
| Record keeping | Save material source, finish, and test result with product photos. |
FAQ
Metal marking path questions
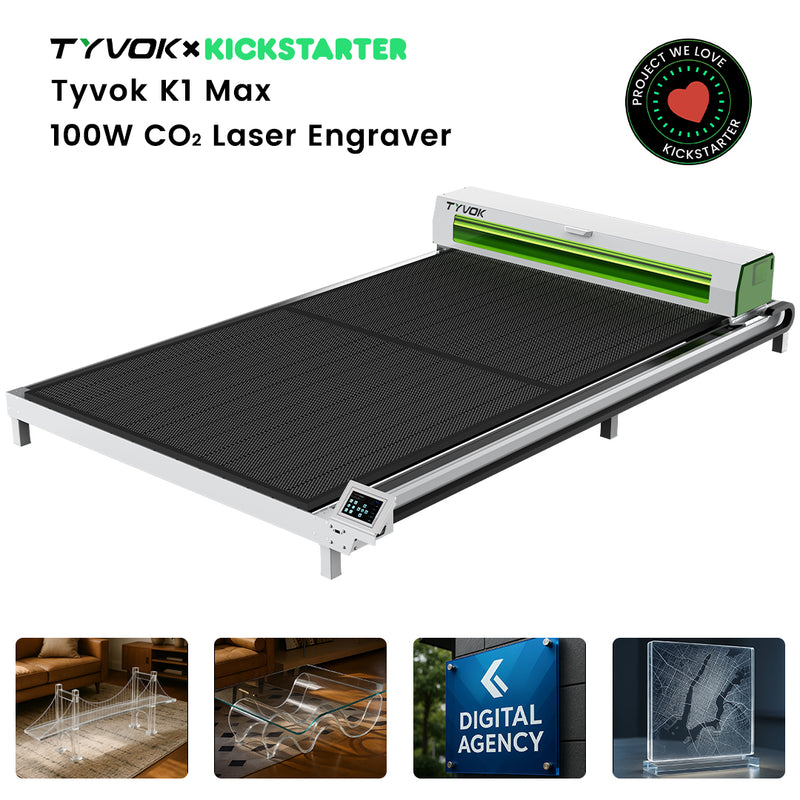
Which TYVOK machine should I start with for metal marking path?
Start with TYVOK P2 Ultra for the main workflow on this page. Compare TYVOK P2 when your project needs the alternate size, source, or production path.
Can I use one setting for every blank?
No. Treat each supplier, color, coating, thickness, and finish as a separate test until you have a repeatable result.
What should I do before selling this material?
Run a test file, photograph the finished result, save the settings with the material source, and only then build the product offer.
More TYVOK project cases to sell
Use these project cases after choosing a material path, then move into machine settings and product selection.
High-intent TYVOK project paths
Use these pages for searches where the buyer already has a sellable project in mind: QR codes, menu boards, pet tags, keychains, and repeat small-business work.


